The Decoupage Guide
Were not sure what is to blame (ahem, Pinterest) but there has been a huge increase in an internet obsession with beautiful interior designs. Interior bloggers, Houzz, Pinterest and various online magazines fuel this obsession with their beautiful pictures of polished homes. When it comes to kitting out our own homes, its a bit different. Furniture and décor choices seem to lie on either IKEA (affordable but lacking any pizazz) to John Lewis (gorgeous but just out of our reach), not to mention the designers which are jaw droppingly beautiful but not even worth risking a heart attack by looking at the price.
Its this lack of affordable, unique pieces that have seen a rise in the crafty and thrifty bloggers. People are taking to the streets, thrifting and repurposing second hand pieces, to create one off furnishings that dont cost the moon and cant be found anywhere else.
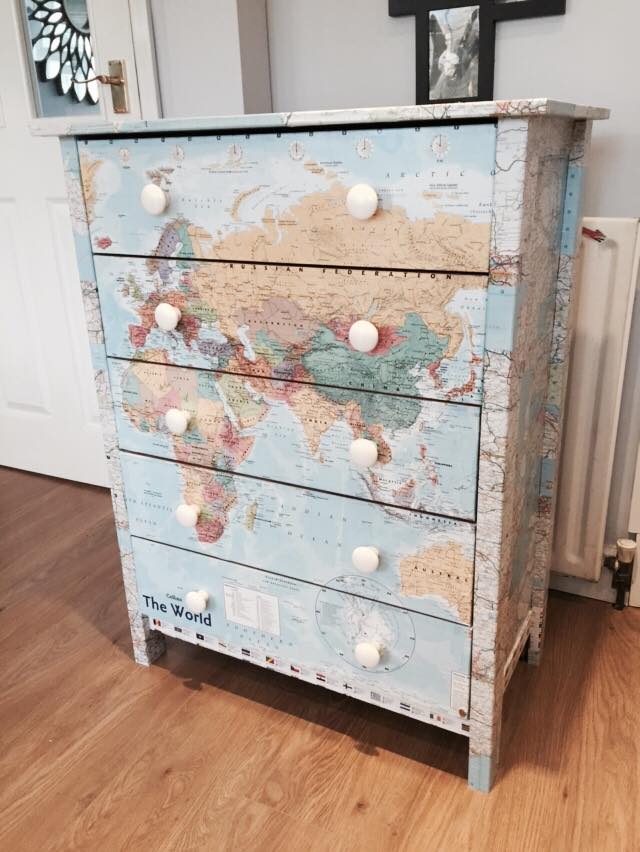
A simple and stunning way to repurpose your furniture is decoupage. Derived from the French verb decouper to cut, decoupage involves cutting out and gluing pictures to an object, and then coating with layers of varnish to provide a unique and professional looking piece. Decoupage can be used to decorate almost anything, from furniture down to plates. The great part is you just need paper, glue, varnish and time.
Although finished projects look like theyre a lot of work, its actually really simple. This ultimate guide will help you get started so that you can kit your house out in quality pieces without breaking the bank.
The Glue
Glue is undeniably essential to decoupage. With so many glues on the market, its easy to get confused about which is best. There are actually a few options you can use for decoupage, meaning you probably wont need to rush out to Hobbycraft until youve tried it out a few times and decide its a permanent hobby.
- PVA glue
- Mod podge
- Spray glue (permanent)
- Clear varnish
The Picture
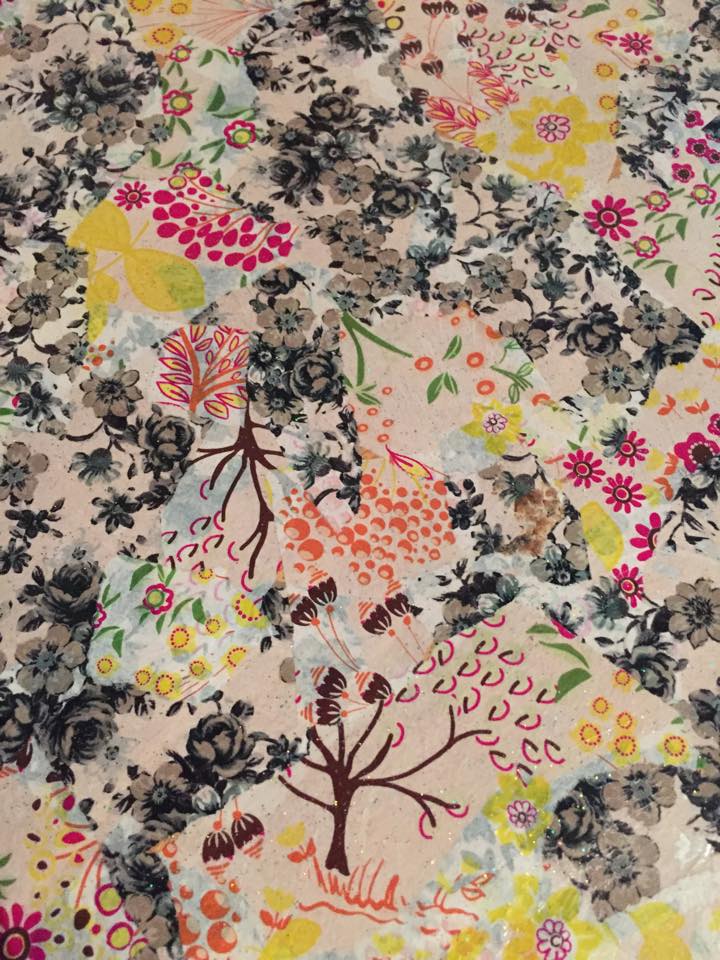
There are so many types of papers and fabrics which can be used for decoupage, the hardest thing will be choosing the image.
- Wrapping paper
- Wallpaper
- Magazines
- Decoupage paper
- Origami paper
- Tissue paper
- Fabric (cotton, cotton/ polyester)
- Paper mache paper
Tools
- Small, sharp scissors
- Craft knife
- Sponge
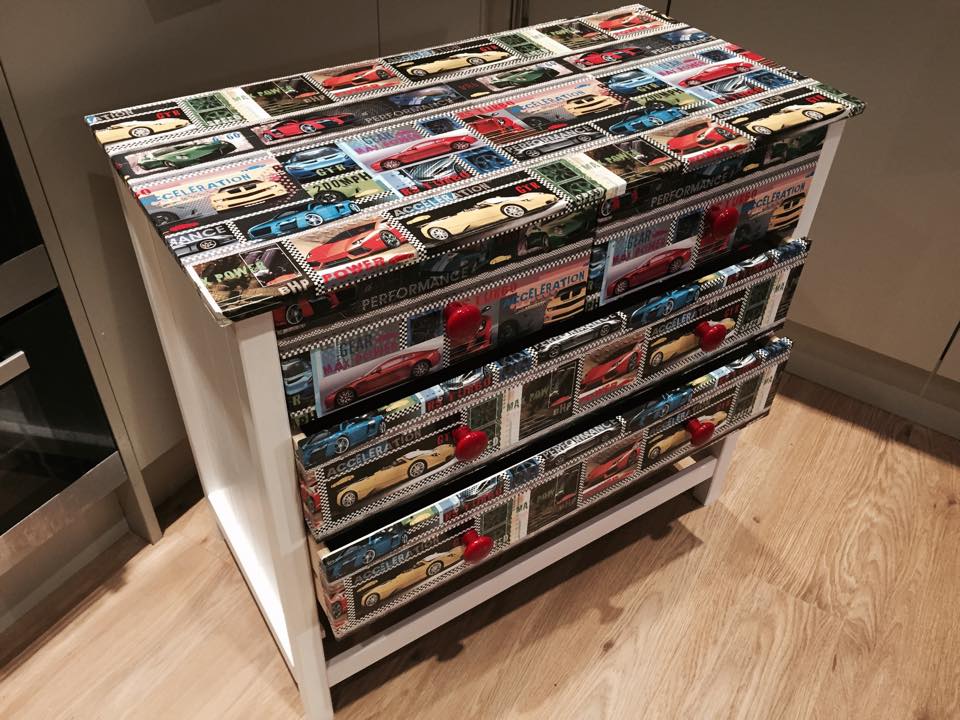
There are different types of decoupage. Some use whole pieces of material to cover sections of an item, such as a table top, whilst others use small cut out images to build up an overall image. Here well show you how to do both.
Using whole pieces of material
Clean your item of dust, grease and dirt.
Measure the dimensions of the item you want covering and cut out the exact material (or draw around the item if possible!).
Apply glue to the surface and slowly stick and smooth paper or
fabric on. Pull and smooth the fabric paper to ensure there are no wrinkles.
Wipe away excess glue with a damp sponge and leave to dry.
Once dry, apply varnish to ensure durability. Apply using a paint brush in smooth strokes running the same way to avoid brush marks. After three or four coats, lightly sand the surface and wipe away dust before applying more coats (between two and ten will be needed depending on durability required) as this creates a smoother surface.
Using individual images
Clean your item of dust, grease and dirt.
Cut out the images you will be using. The best way to do this is with a sharp pair of scissors, using a craft knife for any areas difficult to access.
Arrange the pictures to ensure youre happy with the positioning, and take a picture for reference if necessary.
Apply glue to the surface and place the images one by one. Ensure each is firmly pressed down, squeezing any air out. Wipe off any excess glue as required throughout the process with a very lightly dampened sponge.
Allow the pictures and glue to dry before applying a layer of varnish. Leave enough time for the varnish to fully dry between each coat (around four to fifteen will be needed).

Although decoupaging is extremely easy, it can be time consuming particularly for large pieces of furniture! This guide and imagery was provided to us by Aimee from Funky Furniture, who also sells decoupaged furniture and decorative items at reasonable prices over on her Facebook page.